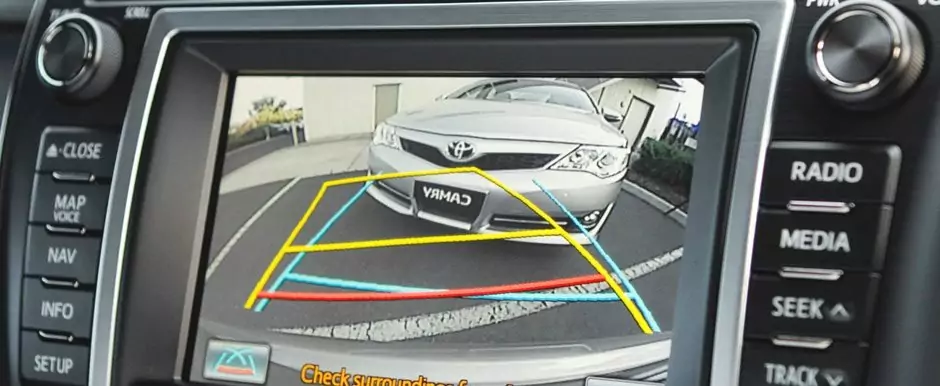
Installing a reversing camera in your car can improve safety and ease while backing up. With the right setup, you can avoid obstacles and see what’s behind you more clearly. In this article, you will learn the ten expert tips to help you install a reversing camera effectively and get the most out of this valuable feature.
1. Choose the Right Camera for Your Vehicle
To achieve the best possible results, choose a reverse camera that is compatible with the make and model of your vehicle. Having a camera that is the right size will allow it to fit your vehicle properly, and the lens angle will ensure that you have a comprehensive view of what is behind you.
Additionally, a higher resolution results in a sharper picture, which makes it simpler to identify obstructions. For the best possible performance, you should make sure that the camera you choose has decent visibility and complements the design of your car.
2. Gather All Necessary Tools and Equipment
Ensure that you have gathered all of the necessary tools and equipment before beginning the process of installing your reversing camera. Here are some of the common instruments that you may require for installing the reversing camera:
- Screwdrivers
- Drill
- Wire strippers
- Electrical tape
On top of that the installation will go more smoothly, and you will be able to avoid delays if you have all of the tools and equipment ready before you begin. Preparedness can prevent disruptions and expedite the installation process.
3. Read the Manufacturer’s Instructions
Be sure to give the installation guide that comes with your reversing camera a thorough reading before beginning the process. Taking the time to carefully follow these instructions is absolutely necessary, as it contains explained information on how to correctly install your camera.
By comprehending and adhering to the instructions, you can guarantee the camera’s proper operation and compatibility with your car. As a result, you will be able to avoid any problems that may arise during the installation process and ensure that your camera will operate properly.
4. Plan the Installation Location
Carefully consider the location where you are going to install your reverse camera. Usually, the best places to put reversing cameras are either on the rear bumper or over the rear license plate. Ensure the camera’s positioning allows it to see everything behind your vehicle, free from any obstructions.
Once you are backing up, it becomes easier to spot any hazards or roadblocks. For safety precaution, position the camera at a height and angle that will provide you with a comprehensive and precise view of the area.
5. Check for Obstructions
When you want to install the Reversing Cameras for Cars, make sure to inspect behind the area to prevent accidentally causing damage to important components of your car or getting into issues with its electrical systems. If you do this, you will be able to avoid any potential issues and ensure that the placement of your reversing camera is both reliable and secure.
6. Secure the Camera Properly
Make sure to firmly attach the camera to prevent any movement or shaking while driving. Utilize the brackets or mounts that came with your camera, and check to see if the components are properly attached.
In that way, you will receive a dependable image that will support you securely and positively. It not only improves your visibility to properly secure the camera, but it also ensures that the camera will continue to function effectively over time.
7. Connect the Wires Carefully
Every reversing camera’s manufacturer will provide you with wiring instructions; check to follow the instructions provided. Most cameras require connecting the power wires to the car’s reverse light circuit. This connector supplies electricity to the camera when it is in reverse. Insulating the wires and securing it in the correct manner ensure that your camera functions well.
8. Test the Camera Before Finalizing Installation
Instead of completing the installation, it is important that you test the camera. To check the view on the screen, put your car in reverse. This step aims to determine whether the camera functions accurately and produces an image without distortion.
Depending on the situation, you can relocate the camera or adjust the settings in order to get the greatest possible view behind your vehicle. Through testing, you may identify any potential problems at an earlier stage and guarantee that your reverse camera is properly configured for safe driving.
9. Hide and Secure Wires
Once you’ve confirmed proper functionality, secure and hide the wires to ensure that your setup remains organized. In order to bundle the wires and protect the reversing cameras from harm, you can use wire looms or cable ties.
Applying the steps to your car ensures a professional installation and prevents wire tangles that could affect your vehicle’s operation. Maintaining a clean and well-organized wiring project helps to avoid problems and makes future maintenance simpler.
10. Regularly Check Camera Functionality
Lots of car owners forget to check the rearview camera after setting it up, but it’s important to do it often. When setting up your camera, remember to check it every so often to make sure it’s still working properly.
In addition, clean your camera’s lens frequently to get rid of any dust or dirt that might get in the way. Confirm if the connections and wires are tight and free from any damage. Doing the easy maintenance tasks can keep your camera functions well and stay safe while you drive.
Get Your Reversing Camera Right Today!
Smartly installing a reversing camera in your car can make driving a lot more confident and backing up a lot easier. Using these expert tips will ensure that the installation goes smoothly and give you better vision when reversing.
Furthermore, following careful planning, installation, and ongoing upkeep, your reversing camera will keep working well for many years to come. Such measures not only make driving less dangerous, but it also makes it less stressful.


